
DIY Painted Vases

How to paint vases

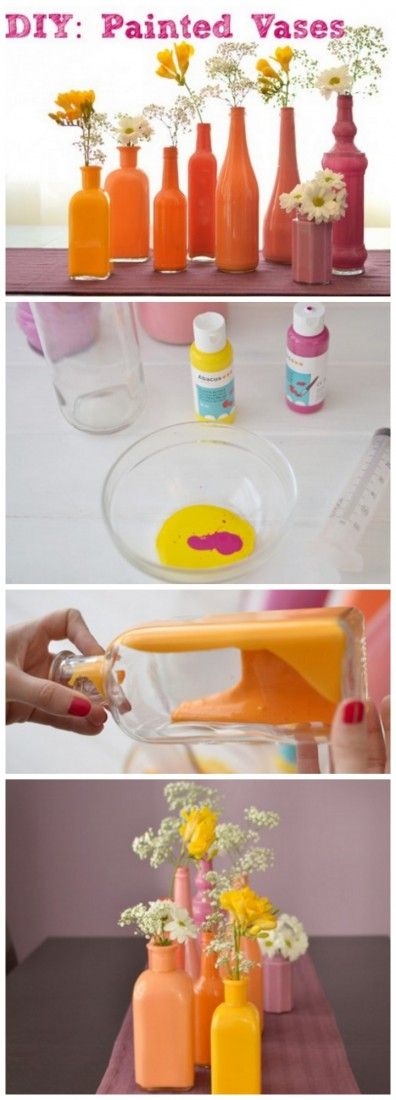
Materials: Recycled glass  bottles, Paint, Plastic syringe, Vase liner & Flowers

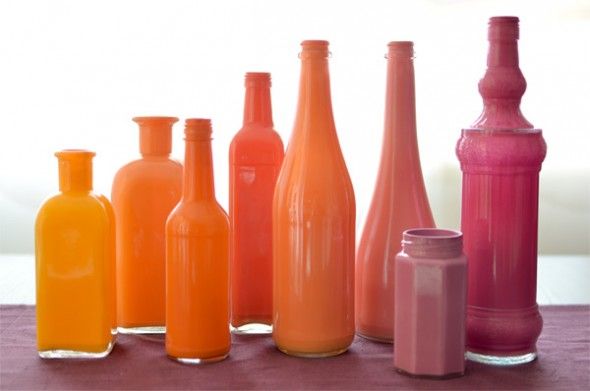
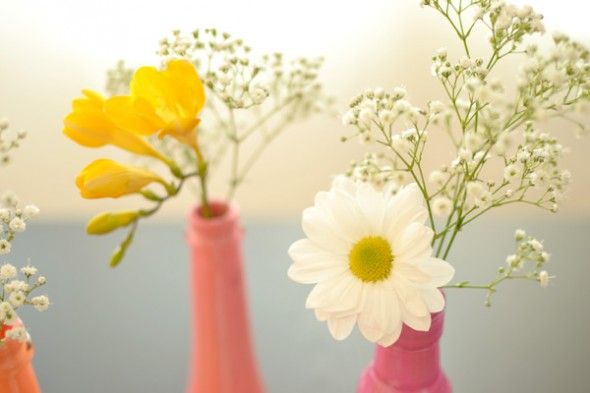
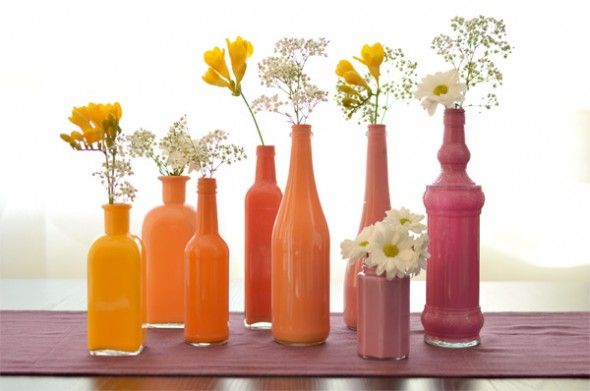
Step One: Gather a variety of vases. Choosing a variety of sizes and shapes will make the vases look more eclectic and interesting. Decide on a color pallet that you want to go with. This color pallet is has a sunset  tone theme going on.

Step one painted vase DIY

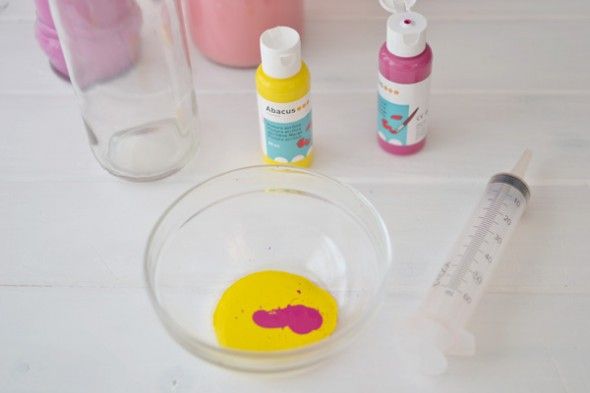
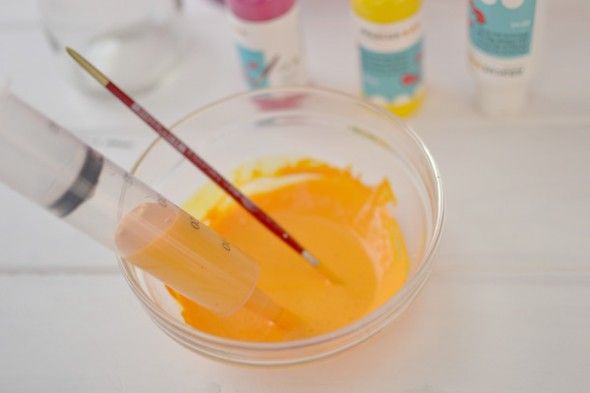
Step Two: Mix colors to get the desired tone. I used watercolors, but you can also use wall paint, if you prefer. Dilute the paint with a little water to flow into the bottle better (but not too much or not cover well), and absorb with a large plastic syringe (you can buy at any pharmacy).

Step 2 painted DIY vases

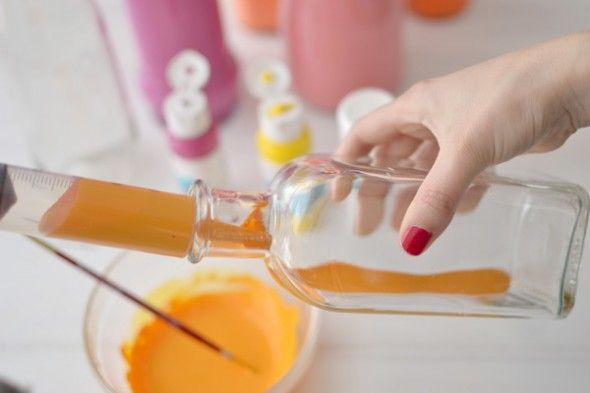
Step Three: Pour all the paint in the bottle with the aid of syringe. Larger bottles need between 80 and 100 ml. paint to cover comfortably.

Step 3 DIY

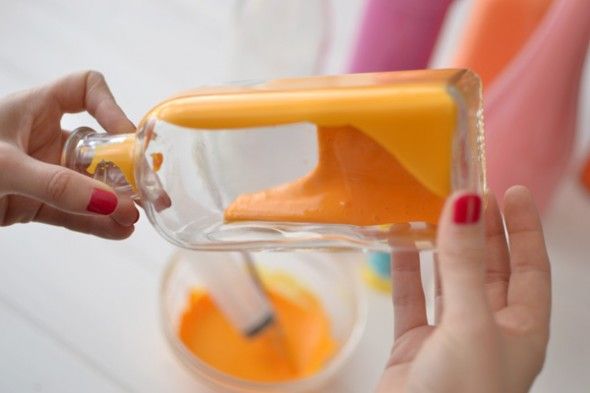
Step Four: Rotate the bottles in a circular motion so that the paint covers every area.

Step 4 DIY Project Painted Vases

Step Five: Once covered with the paint, let the bottles sit upside down for several hours so any excess paint can be drained. You can rest the bottles  in a sink or on absorbent paper.

Step 5 painted vases diy

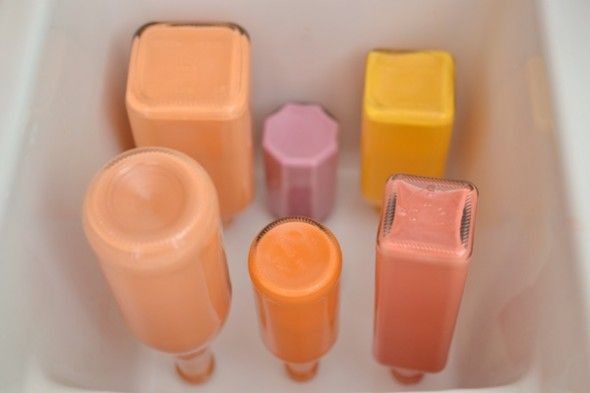
Step Six:  After the bottles have drained and dried we clean the excess paint from the edge and let them dry completely (it took me a couple of days).

How to make a painted vase

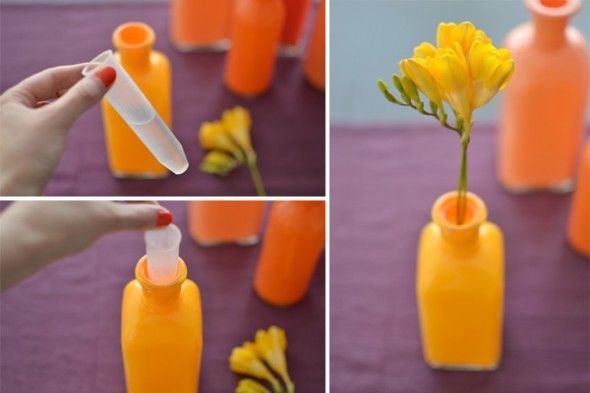
Step Seven: Because we used a water based paint we don’t want to fill the vases with water for the flowers. Add a plastic vase liner to the vases before adding the flowers.

Painted Vases With Flowers
Painted Vases For Wedding
DIY Painted Vases

Comments

Popular posts from this blog

DIY Links

MONOGRAMMED RECIPE BOX HOW TO MAKE A LEATHER-TRIMMED LAPTOP CASE OMBRE PAINTED WOODEN SPOONS HOW-TO: COLOR BLOCK WOODEN SPOONS OVEN MITT AND HOT PAD DIY DIY Project: Sashiko Sampler Potholders NO SEW ANTHROPOLOGIE DIY TEA TOWEL HOW TO MAKE MASON JAR SOAP DISPENSERS wire and nail hanging spice storage DIY : painting your fridge with chalkboard paint DIY Faux Succulent Garden using Dollar Store Frames – Monthly DIY Challenge Paint Stick Basket Teacup Lights DIY Sweater Pillows — No Sewing Machine Needed MAKE THIS: WIRE BASKET SIDE TABLE TURN A LAMP INTO A SIDE TABLE DIY RUSTIC SHUTTER BENCH Supercute! Easy DIY Bottle-Cap Candles Cookie Sheet Magnetic Memo Board DIY No-Sew Cinch Pouches Suede No-Sew Skirt 10 MINUTES DIY: NO SEW POCKET T-SHIRT DIY Dog Bed – Super Easy NO SEW No Sew, Tee-Shirt Halter #3, DIY Interchangeable Flip-Flop Back Straps No-Sew Market Tote Bag Glam Wrap Skirt No Sew Duct Tape IPhone Case Pretty Petals: DIY Flow...

DIY MENU BOARD

Hello, SITS readers! It is Lindsay, back to share with you a DIY project that will hopefully help me get organized with meal planning this summer. I don’t know about you, but a lot of times, at the end of a busy day, the last thing I want to do is think about what to have for dinner! I know there is a better way to organize our meals and grocery shopping and it all has to start with an actual  meal plan  for the week. So, what do clearance teak wood coasters, plywood and frame pieces have in common? They all come together to make a menu board. This  DIY menu board  is going to help plan our weekly meals and make my grocery shopping a lot easier this summer.  (Fingers crossed) . DIY MENU BOARD During the week,  planning meals and getting dinner organized and on the table  can be a struggle with our busy schedule. By the end of the day, I am tired and we are usually getting ready to head out to one activity or another. For some time no...

Holiday DIY: Simple Filled and Painted Ornaments Tutorial

Okay, I'll admit it. I'm addicted to making ball ornaments this year! It's just so simple and there are so many variations! You can fill glass ball ornaments with yarn, twine, feathers, fake snow, pine needles and random craft supplies. You can also fill them with paint! It's so easy to do.All you need is a clear ornament and your favorite acrylic paint.I'm really loving Martha Stewart's paint line. It is full of so many gorgeous colors and shades. Squirt about a teaspoon of paint directly into the ornament.  Slowly swirl it around until it coats the inside. Use a plastic bottle or paper cup to store the ornament upside down. Leave it there overnight so that all the excess paint runs out. Add the metal cap and voila! A lovely painted ornament in any shade you choose! You can use acrylic paint to add details to the outside, or leave it blank. Update: Here are a couple of additional tips based on questions and comments over the...